
How to Use IoT Device Over Internet: Step-by-Step Guide with Examples
Introduction
The Internet of Things (IoT) is changing the world around us. From smart lights to voice-controlled assistants and remotely controlled fans or ACs, IoT devices are everywhere. But have you ever wondered how these smart devices work over the internet? Or how you can set up your own IoT device at home or office to control it remotely?
If you’re a beginner or a non-tech person trying to understand how to use IoT devices over the internet, this comprehensive guide is for you.
In this post, we’ll break down complex technology into simple terms, explain the step-by-step process, and give you real-world examples to help you get started.
1. What is an IoT Device?
IoT stands for Internet of Things — which simply means “things” (like bulbs, fans, door locks) that are connected to the internet.
These things can send or receive data. For example:
- A smart thermometer sends the temperature of your room to your phone.
- A security camera streams video to your mobile via the cloud.
- A fitness band sends your heart rate data to a health app.
In short, an IoT device is any physical object that:
- Has a sensor (to detect something),
- Has a processor or microcontroller (to make decisions),
- And is connected to the internet (Wi-Fi, Bluetooth, etc.).
2: How to connect IoT Devices to Internet
Imagine your smart device — like a smart bulb or a motion sensor — sitting in your room. How does it actually “talk” to your mobile phone, even when you’re far away?
The answer lies in how the device connects to the internet. There are several ways IoT devices can do this:
- Wi-Fi
- Most commonly used for home IoT devices.
- Devices connect to your home router.
- Once online, they can send/receive commands using mobile apps.
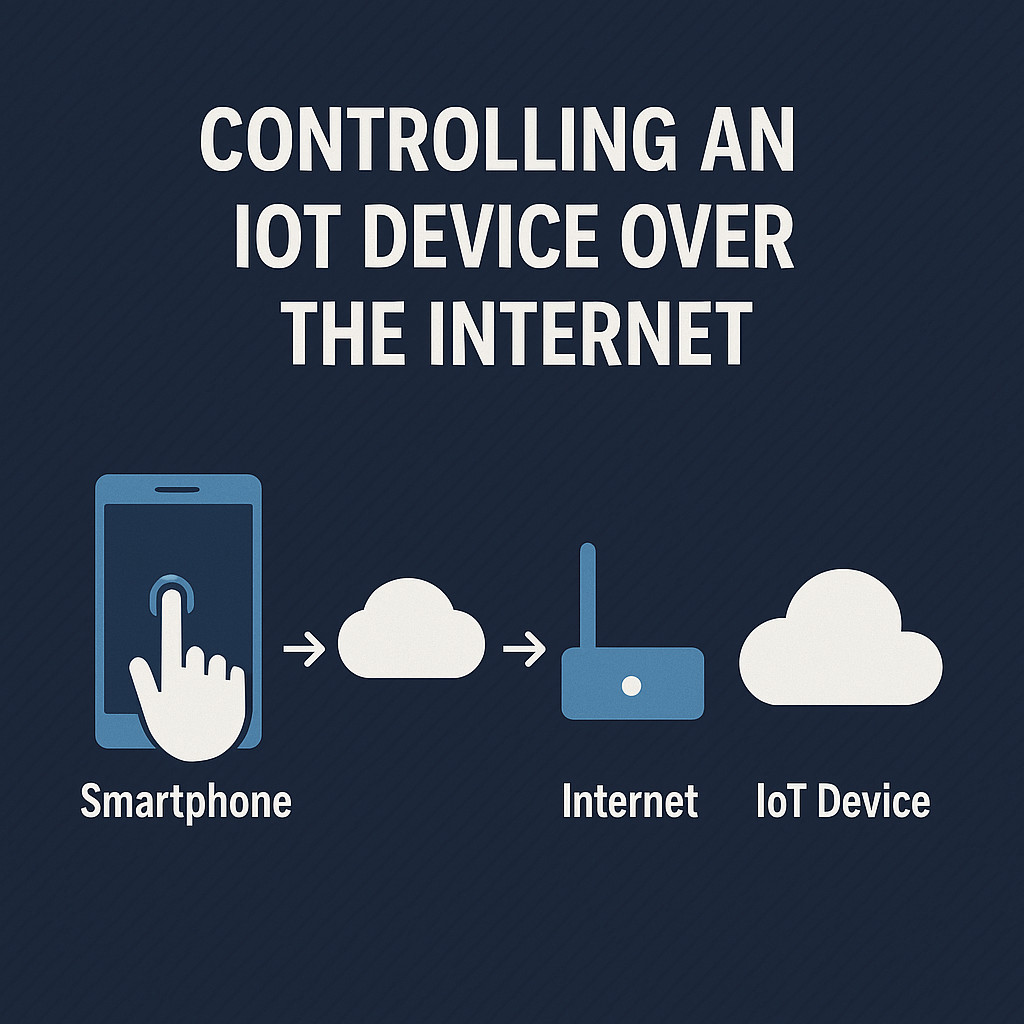
Example: You tap a button on your mobile app → command goes to the cloud → cloud sends command to your device via Wi-Fi → bulb turns ON.
- Bluetooth/BLE (Bluetooth Low Energy)
- Short-range communication (10-50 meters).
- Often used in fitness bands, smart locks, and wearables.
- Doesn’t require internet if device and phone are nearby.
Example: Your smartwatch syncs steps to your phone when you’re near it.
- Cellular (2G/4G/5G)
- Used when devices are placed in remote locations with no Wi-Fi.
- IoT device uses a SIM card like a phone.
- Used in GPS trackers, vehicle monitoring, and agriculture IoT.
Example: A GPS tracker in your pet collar sends live location to your phone via cellular network.
- Ethernet
- Wired connection for industrial or reliable setups.
- Faster and more secure.
- Used in smart factories, heavy machinery, and routers.
- LoRaWAN / Zigbee / Z-Wave (Advanced Users)
- Long-range, low-power communication.
- Mostly used in agriculture, industrial, or smart city applications.
3. The Role of Sensors, Microcontrollers & Connectivity
To better understand how IoT devices work over the internet, let’s simplify the key components:
- a) Sensors
These are like the “eyes and ears” of the device. They detect things such as:
- Motion (PIR sensor)
- Temperature (DHT11, DHT22)
- Light (LDR)
- Sound, humidity, pressure, etc.
- b) Microcontrollers
These are tiny computers that:
- Receive sensor data
- Make decisions
- Send commands to other parts (like turning ON a light)
Examples: Raspberry Pi, ESP8266, NodeMCU, Arduino.
- c) Connectivity Module
This is what lets your device “talk” to the internet.
- Some microcontrollers come with built-in Wi-Fi (like NodeMCU, ESP32).
- Others need an external Wi-Fi module.
4. Common Communication Protocols (Made Simple)
Your IoT device needs a “language” to talk to other devices or the cloud.
Here are some common ones (simplified):
| Protocol | What It Does | Real-Life Example |
| MQTT | Lightweight, fast messaging | Your smart light quickly turns on when you press a button on your app |
| HTTP | Web-based communication | Sending temperature data to a cloud server |
| CoAP | Like HTTP but smaller | Used in low-power devices |
You don’t need to master these. Just know they are used in the background by IoT platforms and apps.
Let’s imagine you are speaking English, and your friend only understands Spanish. You both need a translator to talk. That’s exactly what communication protocols do in IoT — they act as translators between devices and cloud servers.
Let’s simplify the most important ones:
- MQTT (Message Queuing Telemetry Transport)
- Lightweight and fast.
- Ideal for small devices that send short messages often.
- Uses publish/subscribe system.
Analogy: Like subscribing to a newsletter. When the device (publisher) sends data, the app (subscriber) receives it instantly.
Real Use: Home automation, real-time monitoring, and alerts.
- HTTP (Hypertext Transfer Protocol)
- The same protocol your browser uses.
- Devices send data to a web server using HTTP requests.
Analogy: Like asking a question and waiting for an answer.
Used For: Weather stations sending data to dashboards.
- CoAP (Constrained Application Protocol)
- Like HTTP, but designed for low-power devices.
- Useful in battery-powered sensors.
- WebSockets
- Two-way communication — server and client stay connected.
- Used in live streaming, real-time dashboards, and gaming devices.
5. How Data Travels from Device to Cloud
Here’s a simple flow of how an IoT device communicates over the internet:
- Sensor collects data (e.g., temperature)
- Microcontroller reads it
- It connects to the Wi-Fi router
- It sends the data to the cloud (a server on the internet)
- You use a mobile app or website to access that data
- If needed, you send a command back to the device (like “turn on the fan”)
This back-and-forth happens in milliseconds.
This is the heart of how IoT works — sending and receiving data through the internet.
Let’s break it into a real-world example:
Scenario: Smart Plant Watering System
- Sensor detects soil moisture is low.
- Microcontroller (e.g., ESP32) reads this info.
- Device connects to Wi-Fi.
- It sends moisture data to the cloud (like Blynk or Firebase).
- You receive an app notification.
- You tap a button in the app to start the water pump.
- Command goes back to the microcontroller.
- Microcontroller activates the pump for 10 seconds.
Everything here happens within seconds.
Data Flow Diagram (Text Representation):
Sensor → Microcontroller → Wi-Fi Router → Cloud Server → Mobile App
↑ ↓
←←←←←←←←←←←←←←←←←←←←←
Command from User to Device
This loop continues 24/7 — collect data, process, send, and act.
6. Tools You Need to Get Started
If you’re interested in using or building a simple IoT device at home, here’s what you need:
- An IoT board like NodeMCU or ESP8266
- A sensor or an actuator (like a bulb, LED, fan)
- A breadboard and jumper wires
- Power supply (USB or battery)
- Wi-Fi router with internet
- IoT platform like Blynk, Adafruit IO, or Arduino Cloud
- A smartphone or laptop
7. Step-by-Step: Setting Up Your First IoT Device
Let’s go slower here to help first-timers build real confidence.
What You’ll Build:
Goal: Control an LED light using a smartphone app via the internet
Cost: Under ₹500
Time: ~30 minutes
Step-by-Step Instructions
Step 1: Gather Components
- NodeMCU or ESP8266 board
- Breadboard and jumper wires
- 1 LED + 330 ohm resistor
- USB cable to connect to PC
- Internet-connected PC
- Smartphone with Blynk app
Step 2: Install Arduino IDE
- Download Arduino IDE from https://www.arduino.cc
- Install the ESP8266 board via Boards Manager
Step 3: Circuit Diagram
Connect like this:
- LED +ve (long leg) → D1 pin (GPIO5)
- LED -ve (short leg) → 330Ω resistor → GND
Step 4: Setup Blynk App
- Download Blynk from Play Store or App Store
- Create a new project → Select NodeMCU as device
- Add Button Widget, set to Digital D1
- Copy Auth Token sent to your email
Step 5: Upload Code
#include <ESP8266WiFi.h>
#include <BlynkSimpleEsp8266.h>
char auth[] = “your_auth_token”; // Paste from Blynk email
char ssid[] = “your_wifi_name”;
char pass[] = “your_wifi_password”;
void setup()
{
Blynk.begin(auth, ssid, pass);
pinMode(D1, OUTPUT);
}
void loop()
{
Blynk.run();
}
Upload code via USB. Your board will connect to Wi-Fi and Blynk Cloud.
Step 6: Control LED from Phone
- Tap the button in the Blynk app.
- Watch the LED turn on/off in real time.
You just built and controlled an IoT device over the internet!
8. Example Project: Controlling a Light Bulb from Your Phone
Let’s explore the previous project in a bit more depth and look at some variations and enhancements to help you understand how powerful and versatile IoT devices can be over the internet.
Variant 1: Add Temperature Sensor + Auto ON/OFF Bulb
Let’s say you want your light to turn ON if the temperature goes above 30°C.
What you need to add:
- A DHT11 or DHT22 sensor
Modified Code Snippet:
cpp
CopyEdit
#include <ESP8266WiFi.h>
#include <BlynkSimpleEsp8266.h>
#include <DHT.h>
char auth[] = “YourAuthToken”;
char ssid[] = “YourWiFiName”;
char pass[] = “YourWiFiPassword”;
#define DHTPIN D2
#define DHTTYPE DHT11
DHT dht(DHTPIN, DHTTYPE);
void setup() {
Blynk.begin(auth, ssid, pass);
dht.begin();
pinMode(D1, OUTPUT);
}
void loop() {
Blynk.run();
float temp = dht.readTemperature();
if (temp > 30) {
digitalWrite(D1, HIGH);
} else {
digitalWrite(D1, LOW);
}
}
Now your IoT setup is smart enough to respond automatically based on sensor data — and all this is done via the internet.
Variant 2: Add Voice Control
Use Google Assistant + IFTTT to control the bulb with your voice.
Example: Say “OK Google, turn on the bulb” → IFTTT sends signal to Blynk cloud → Blynk turns on the bulb → Your ESP8266 receives it → Bulb lights up.
This opens up endless possibilities!
9. Security Tips for Using IoT Devices
Security is not optional. As IoT devices collect and share data online, they can be exposed to risks like:
- Hacking
- Device hijacking
- Privacy leaks
- Unauthorized access
Let’s simplify how to stay safe without being tech-savvy.
Practical IoT Security Tips for Beginners
- Use Unique Passwords
Never use the same password for multiple devices or services. Use a password manager if needed.
- Avoid Default Credentials
Most devices come with default login info like “admin/admin”. Change it immediately.
- Secure Your Router
Your IoT devices depend on your Wi-Fi network. Make sure to:
- Use WPA2/WPA3 encryption
- Disable WPS
- Change default admin login
- Update Firmware
Firmware updates are like vaccines. They patch security bugs. Always check the device app for updates.
- Isolate IoT Devices
If your router supports it, create a separate guest network just for IoT devices.
- Use Reputable Brands
Cheap, no-name smart devices may lack proper security. Stick to trusted brands with regular updates and support.
- Enable Two-Factor Authentication (2FA)
Use apps that offer 2FA to protect your cloud account even if someone steals your password.
10. Common Mistakes to Avoid
If you’re just getting started, here are some common mistakes you might make while using IoT devices over the internet:
Using Poor Wi-Fi
IoT devices need a stable connection. Weak Wi-Fi signals can cause delay or failure.
Ignoring Power Requirements
Some sensors need specific voltages. Using the wrong power source can damage the device.
Overloading Your Router
Too many devices can slow down your internet. Use a router that supports multiple connections.
Forgetting to Secure API Keys
If you use cloud services (like Blynk or ThingSpeak), don’t share your API keys publicly. Hackers can misuse them.
Not Testing Before Deployment
Always test your device locally before installing it in a final location.
11. Future Trends in IoT Device Usage
IoT is growing faster than ever. Let’s take a quick look at what the future holds:
Smarter Cities
- Smart streetlights that adjust brightness based on movement
- Traffic sensors reducing congestion
- IoT in waste management and parking systems
Smarter Homes
- Fridges that order groceries
- Washing machines controlled via apps
- Energy-saving ACs that learn your behavior
Smarter Cars
- Real-time health monitoring of your vehicle
- Self-driving systems communicating via IoT
- In-car voice assistants connected to your home
Smart Healthcare
- Remote patient monitoring
- Smart pill dispensers
- Fall detection for the elderly
Industrial IoT (IIoT)
- Predictive maintenance in factories
- Smart energy grids
- IoT-based supply chain tracking
12. FAQs
Do I need to know coding to use IoT devices over the internet?
Not always. Many smart devices (like Alexa, smart plugs, or smart lights) work via apps. But if you want to build your own device (like with ESP8266), basic coding helps.
What is the cheapest way to get started with IoT?
Start with a NodeMCU board (under ₹300), a sensor like DHT11 (₹50), and free platforms like Blynk or ThingSpeak. That’s all you need.
Can I use IoT devices without internet?
Some features may work on local networks (like Bluetooth or local Wi-Fi). But to control them remotely, internet is essential.
Are IoT devices safe?
Yes, if used properly with secure passwords, updated software, and trusted platforms.
Can I use mobile hotspot to control my IoT device?
Yes, but it’s not recommended for long-term use. Hotspots are unstable and may disrupt communication.
13. Final Thoughts
IoT is no longer a concept of the future — it’s the present. Anyone can start using or even building IoT devices today. Whether you’re a homeowner, small business owner, or hobbyist, understanding how to use IoT devices over the internet opens up a world of convenience and creativity.
This guide was written especially for non-tech users, so you don’t feel overwhelmed. With tools like Blynk, NodeMCU, and Wi-Fi connectivity, even a beginner can build powerful and smart solutions.
Start simple. Try controlling an LED or fan. Then expand. Add sensors, automation, or voice commands.
With just a few steps, you can turn your home or office into a smart space — connected, efficient, and fun.
See also: Ultimate IoT Security Guide: Protect Your Smart Devices Easily
Was this ‘How to use IoT Device over Internet’ guide helpful? If you want more beginner tutorials, project ideas, or step-by-step videos, check out our IoTDunia Youtube Channel and explore more on iotdunia.com.
See also: IoT Architecture Explained (with diagram): 4 Essential IoT Layers Simplified
Ready to Explore More? Let’s Build Smarter Together!
Subscribe to Our YouTube Channel » for IoT video Tutorials.
Start Learning IoT Basics Now » and What is IoT? – Introduction to IoT for Beginners on IoTDunia.com!
and Check out Top IoT Applications in Real World – Smart Use Cases 2025, IoT career guide 2025, Best Projects on IoT for Beginners
Have questions? Drop them in the comments!
Start small, stay curious, and make your world smarter—one device at a time.